

Introduction
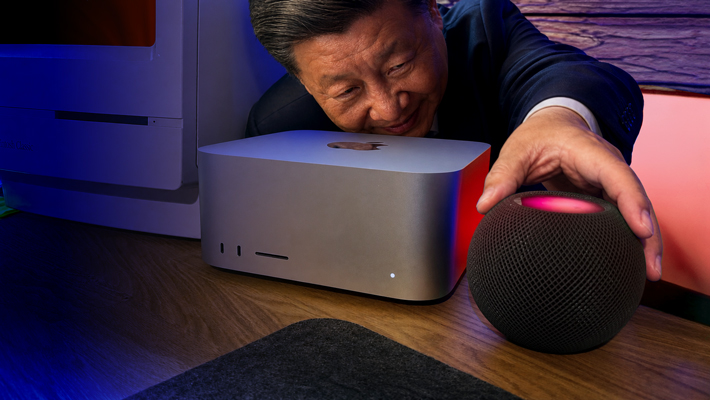
I connected Siri to a Chinese AI. So now my HomePod has an Apple voice, a Chinese brain, and a British butler called Alfred. Not through some complicated Home Assistant setup, not by replacing Siri, and not by installing anything on the HomePod. I basically made Siri do the talking, while DeepSeek does the thinking.
So now I can say: “Can you explain Einstein’s theory of relativity in simple terms?” Siri sends my question to a Cloudflare Worker, the Worker sends it to DeepSeek, and the answer comes back to Siri, which reads it out loud. Which means I have effectively turned my HomePod into a tiny Chinese AI terminal. I’m sure Apple is going to love this. 😂
How It Works
The setup is surprisingly simple: HomePod → Siri → Shortcut → Cloudflare Worker → DeepSeek → Shortcut → Siri. I called the assistant Alfred, because apparently every AI needs a butler.
Step 1: Create a DeepSeek API Key
Go to the DeepSeek API platform and create an account or sign in. Create an API key on DeepSeek and keep it somewhere safe. Important: don’t put the DeepSeek API key directly in your Shortcut. The Shortcut is going to call your own Worker instead.
Step 2: Create a Cloudflare Worker
Create a new Cloudflare Worker and add two secrets to it:
- DEEPSEEK_API_KEY: your DeepSeek API key.
- SHORTCUT_SECRET: a private token that your Shortcut will use to authenticate with the Worker.
Then download the Worker code and paste it into your Cloudflare Worker. Inside the code you’ll find a system prompt that defines the assistant’s personality. Edit this line to change the language and the butler’s name:
“You are Alfred, a voice assistant. Reply in English. Keep answers concise and speakable. Avoid markdown.”
For example, change Alfred to your preferred butler name and English to your own language, then save and deploy the Worker.
Step 3: Create the Shortcut
Create a new Shortcut and add these actions in this order:
- Dictate Text: Language: English (or your preferred language), Stop Listening: After Pause.
- Text: Enter your Worker URL, replacing the placeholder with your actual Cloudflare Worker name.
- Get Contents of URL: Method: POST, with headers Content-Type: application/json and Authorization: Bearer YOUR_SHORTCUT_SECRET.
- Get Dictionary from Contents of URL.
- Get Value for “answer” in Dictionary.
- Speak Dictionary Value.
For the request body, use JSON and add a key named q of type Text, with the value set to the Dictated Text output from the first action. The YOUR_SHORTCUT_SECRET value is the secret you created in Cloudflare as SHORTCUT_SECRET. This is not your DeepSeek API key.
For the voice settings, I use: Wait Until Finished: On, Rate: 50%, Pitch: 50%, Language: English, Voice: Eddy. That’s it. Your Shortcut is now able to send your spoken question to the Worker and read DeepSeek’s answer through the HomePod.
Step 4: Give the Shortcut a Name
I called my Shortcut “Ask Alfred”. To use it, I simply tell Siri: “Hey Siri, Ask Alfred”. Siri launches the Shortcut, listens to my question, sends it to DeepSeek through the Cloudflare Worker, and my HomePod reads the answer back to me.
If you enjoy building your own tools, you might also like Sharoo, a macOS app for sharing files through your own server.
Mac Classic iOS
Previous project
Sharoo
Next project