
Introduction
In an era where cloud storage solutions are increasingly controlled by big corporations, privacy-conscious users seek alternatives that grant them full control over their data. Pinja is our answer to this need—a compact, self-hosted NAS cloud that provides seamless synchronization between local and remote storage. Born from the idea of combining the flexibility of a Raspberry Pi with powerful open-source software, Pinja is designed to be an affordable yet efficient solution for personal and professional data management. Unlike traditional cloud services, it ensures that your files remain under your control, without third-party access or monthly subscription fees. In this article, we will walk you through the journey of building Pinja from scratch, covering both the hardware and software aspects of the project. From assembling the components and designing a custom case to configuring Seafile for optimal performance, we will explore the challenges and solutions that shaped this unique NAS system.
Choosing the Hardware
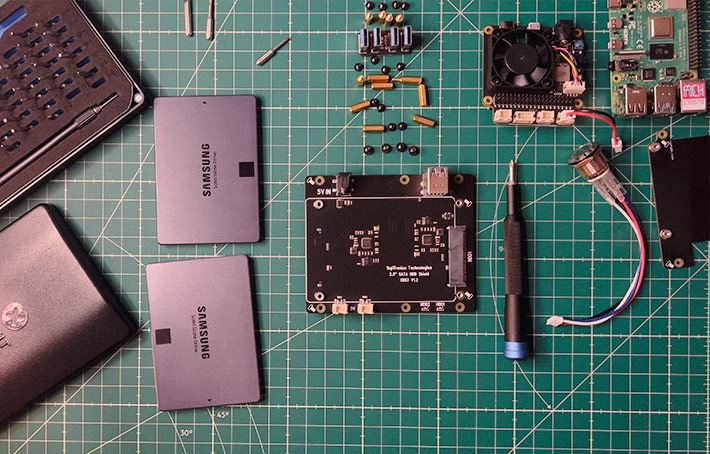
At the core of Pinja lies a Raspberry Pi, a compact yet powerful single-board computer that serves as the foundation for our NAS. While the Raspberry Pi alone cannot provide sufficient storage and power management capabilities for a full-fledged NAS, we enhanced it with two essential Geekworm expansion boards. The first board is an X862 V2.0, designed to support two 2TB Samsung SSDs, providing fast and reliable storage. This expansion not only increases storage capacity but also ensures better read/write speeds compared to traditional microSD cards or external USB drives. The second board is the X735, a power management module that enables safe power handling. It allows us to integrate a physical power button for turning the NAS on and off, while also supporting controlled shutdowns via script. This feature is crucial for preventing data corruption and ensuring that the system can be safely powered down when needed. With these components, we had the essential hardware to build a compact yet powerful NAS solution. The next step was to assemble everything and design a custom enclosure that could house the system securely.
Building the Physical Structure
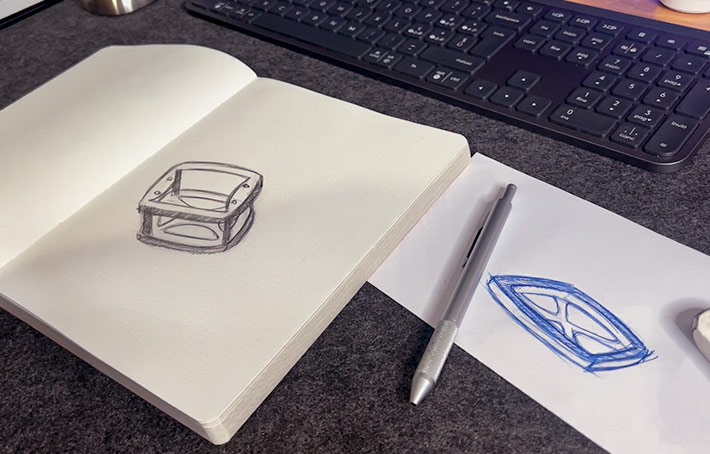
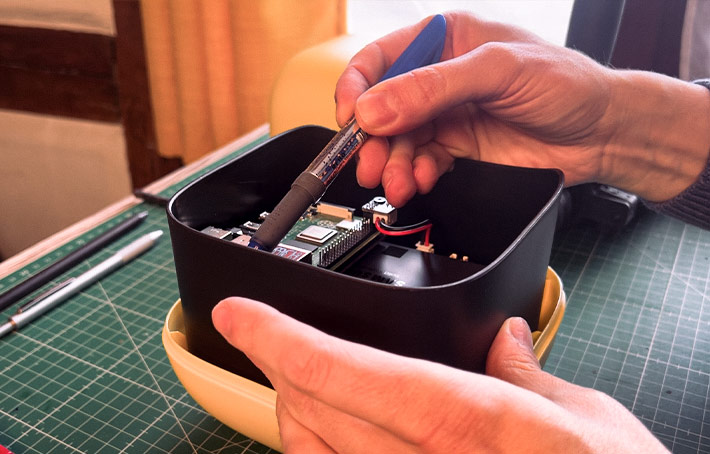
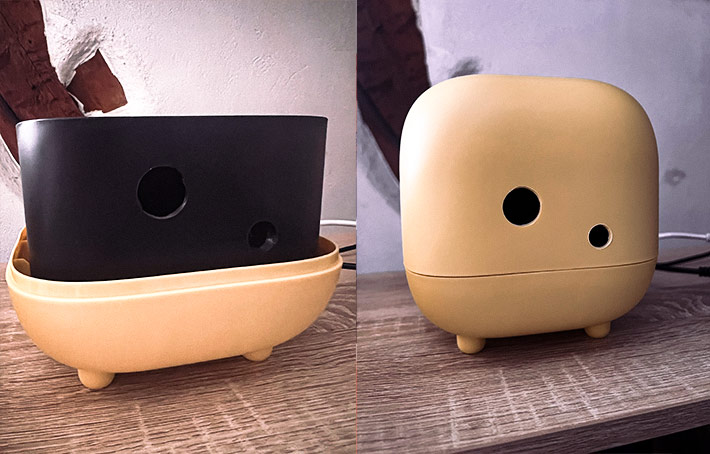
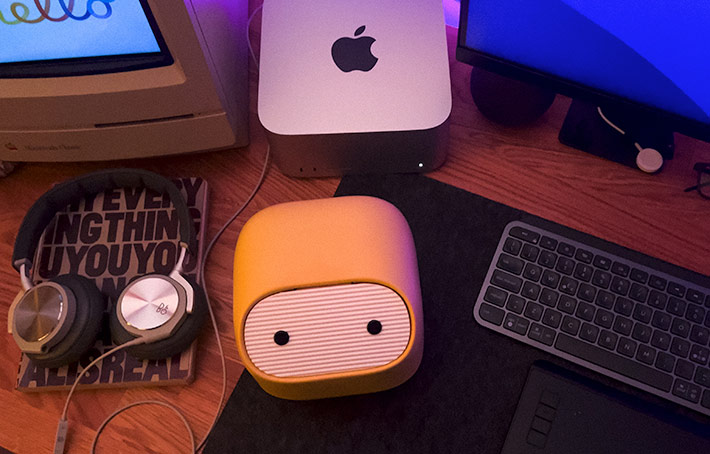
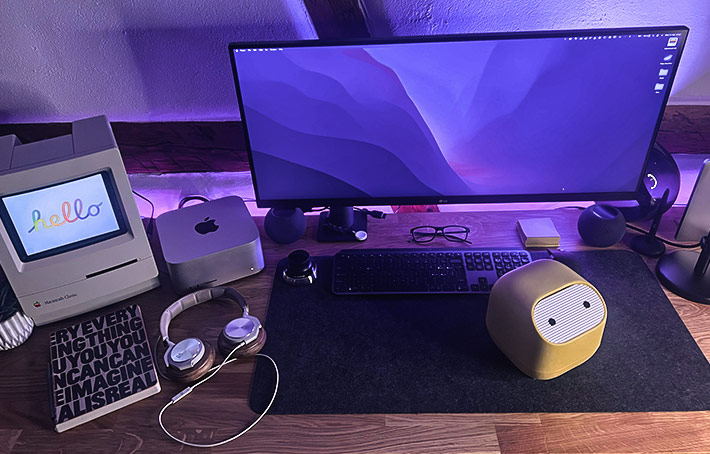
Once the core hardware components were selected, the next step was assembling them into a compact and functional unit. Since Pinja needed to be both practical and aesthetically unique, we designed a custom 3D-printed case in the shape of a ninja.
Mounting the Storage
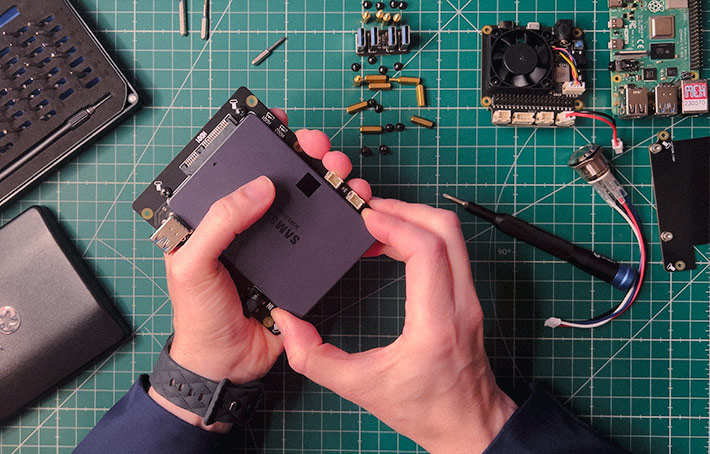
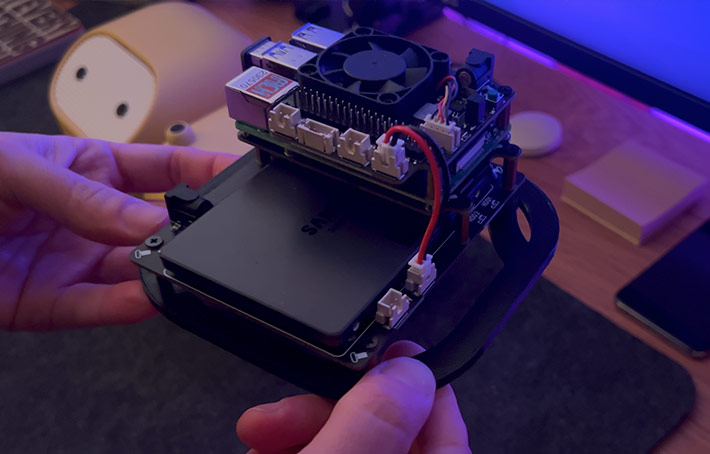
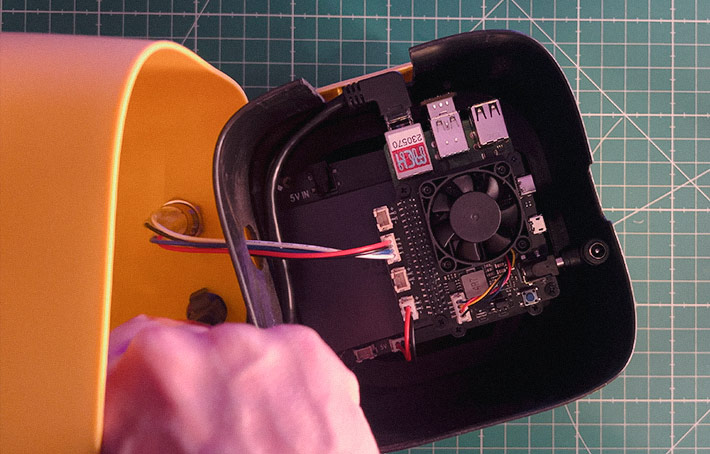
The two Samsung 2TB SSDs were securely attached to the Geekworm X862 V2.0 expansion board, ensuring a stable connection and efficient data transfer. This board was then mounted onto the Raspberry Pi, forming the core structure of our NAS.
Power Management and Button Integration
With the Geekworm X735 power management board, we gained precise control over the NAS’s power functions. To make it user-friendly, we integrated a physical power button on the back of the case. This button allows for:
- Turning the NAS on and off safely
- Initiating a scripted shutdown, preventing data corruption
- Improving usability compared to software-only shutdown methods

Custom 3D-Printed Mounting System
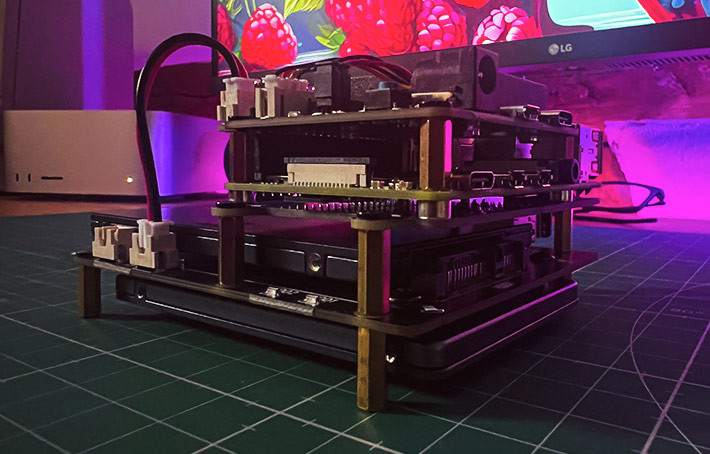
To properly secure all components inside the case, we designed a custom mounting bracket using Blender. This bracket ensures that the Raspberry Pi, SSDs, and power board remain in place while also maintaining proper airflow and heat dissipation.

The design was then 3D-printed, ensuring that all structural elements were properly formed.

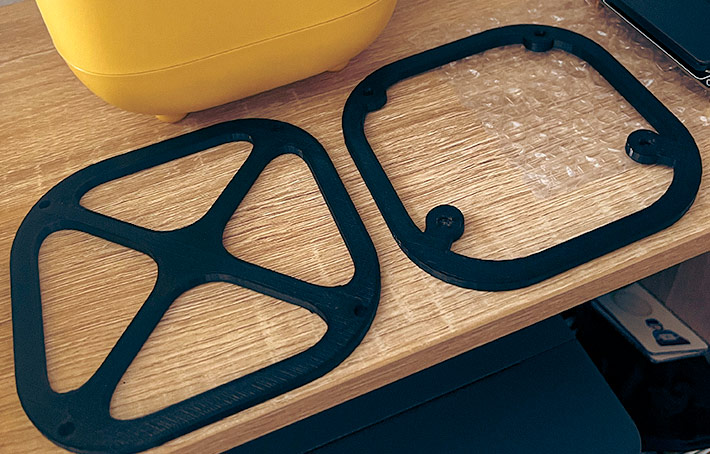
Once printed, it was carefully tested to verify a perfect fit and make any necessary refinements.
Case Modifications
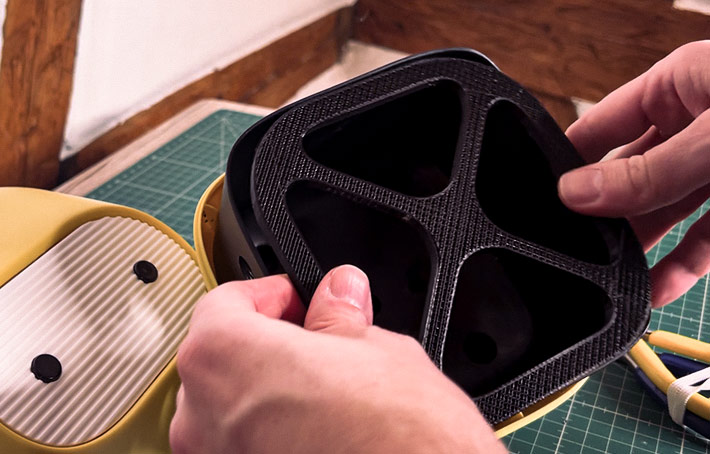
The ninja-shaped plastic case required some modifications to accommodate the hardware:
- Power button cutout: A hole was made on the back for easy access to the power button
- Cable management: Another opening was added for the power cable and Ethernet cable, keeping the connections neat and accessible
With the physical structure complete, the next step was configuring the software to turn this hardware into a fully functional NAS.
Software Installation and Configuration
With the hardware fully assembled, the next step was setting up the software that would turn Pinja into a fully operational NAS. Given its lightweight and efficient nature, we chose Debian Lite as the operating system, ensuring minimal resource consumption while maintaining stability.
Installing Debian Lite
The installation process involved flashing Debian Lite onto a microSD card and setting up the Raspberry Pi with:
- SSH access, allowing remote control without needing a monitor
- Basic system updates to ensure security and performance
- Essential dependencies required for Seafile and system management
Seafile Installation and Optimization
Seafile was selected as the core file synchronization software due to its speed and flexibility. However, installing Seafile on Raspberry Pi presented some challenges, as the official documentation had not been updated for a long time. To overcome this, we conducted multiple tests to:
- dentify the correct library dependencies required for installation
- Optimize database configurations for MariaDB, ensuring smooth performance
- Adjust system settings to allow Seafile’s background processes to run efficiently
After resolving these compatibility issues, Seafile was successfully installed, providing:
- Multi-device synchronization, enabling seamless file access
- Encrypted storage options, enhancing data security
- Web-based management, allowing easy remote control of the NAS
Automated Power Management
To complement the hardware power button, we implemented a custom shutdown script that ensures a clean power-down process, preventing data corruption. The script allows the NAS to:
- Detect when the power button is pressed
- Safely terminate all active processes
- Power off the system without risking file system damage
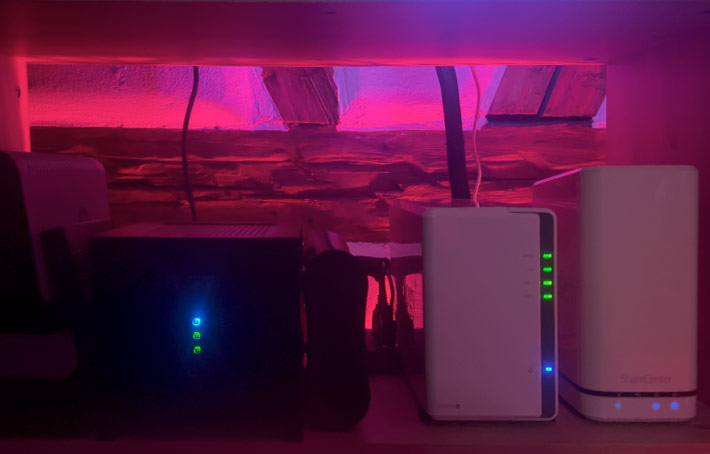
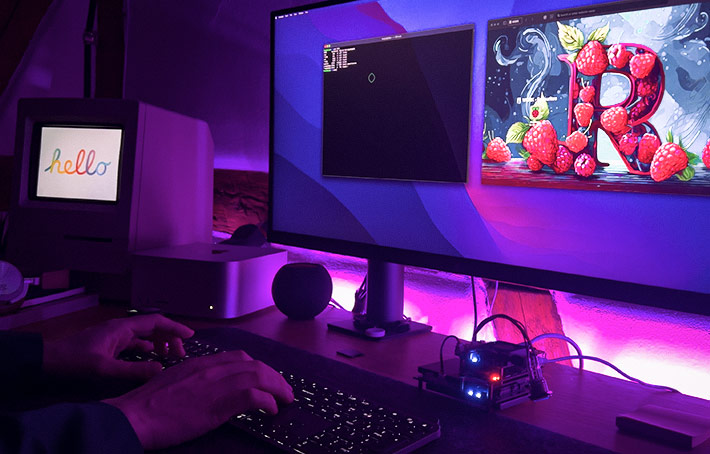
With both hardware and software in place, Pinja was now fully operational—a compact, efficient, and uniquely designed personal cloud NAS.
If you're interested in another exciting DIY project, feel free to check out KUi, a unique user interface for Trimui Smart Pro, a Linux based videogame console.